Introduction
To reduce latency, run AI models locally, and maintain your own Kubernetes cluster nearby is exactly what we call edge computing. Edge systems enable data processing and AI inference closer to where the data is generated, minimizing delays and boosting performance without relying heavily on distant Cloud servers.
In the past, building a Kubernetes cluster with a multi-edge node system was complicated and cumbersome: Each node required its own power supply and a dedicated cable connection, leading to a cluttered, hard-to-maintain setup. Managing these clusters consumed significant time, space, and operational effort, creating barriers for those looking to deploy edge applications or run AI models effectively at the local level.
Leminnov Meets Turing Pi 2
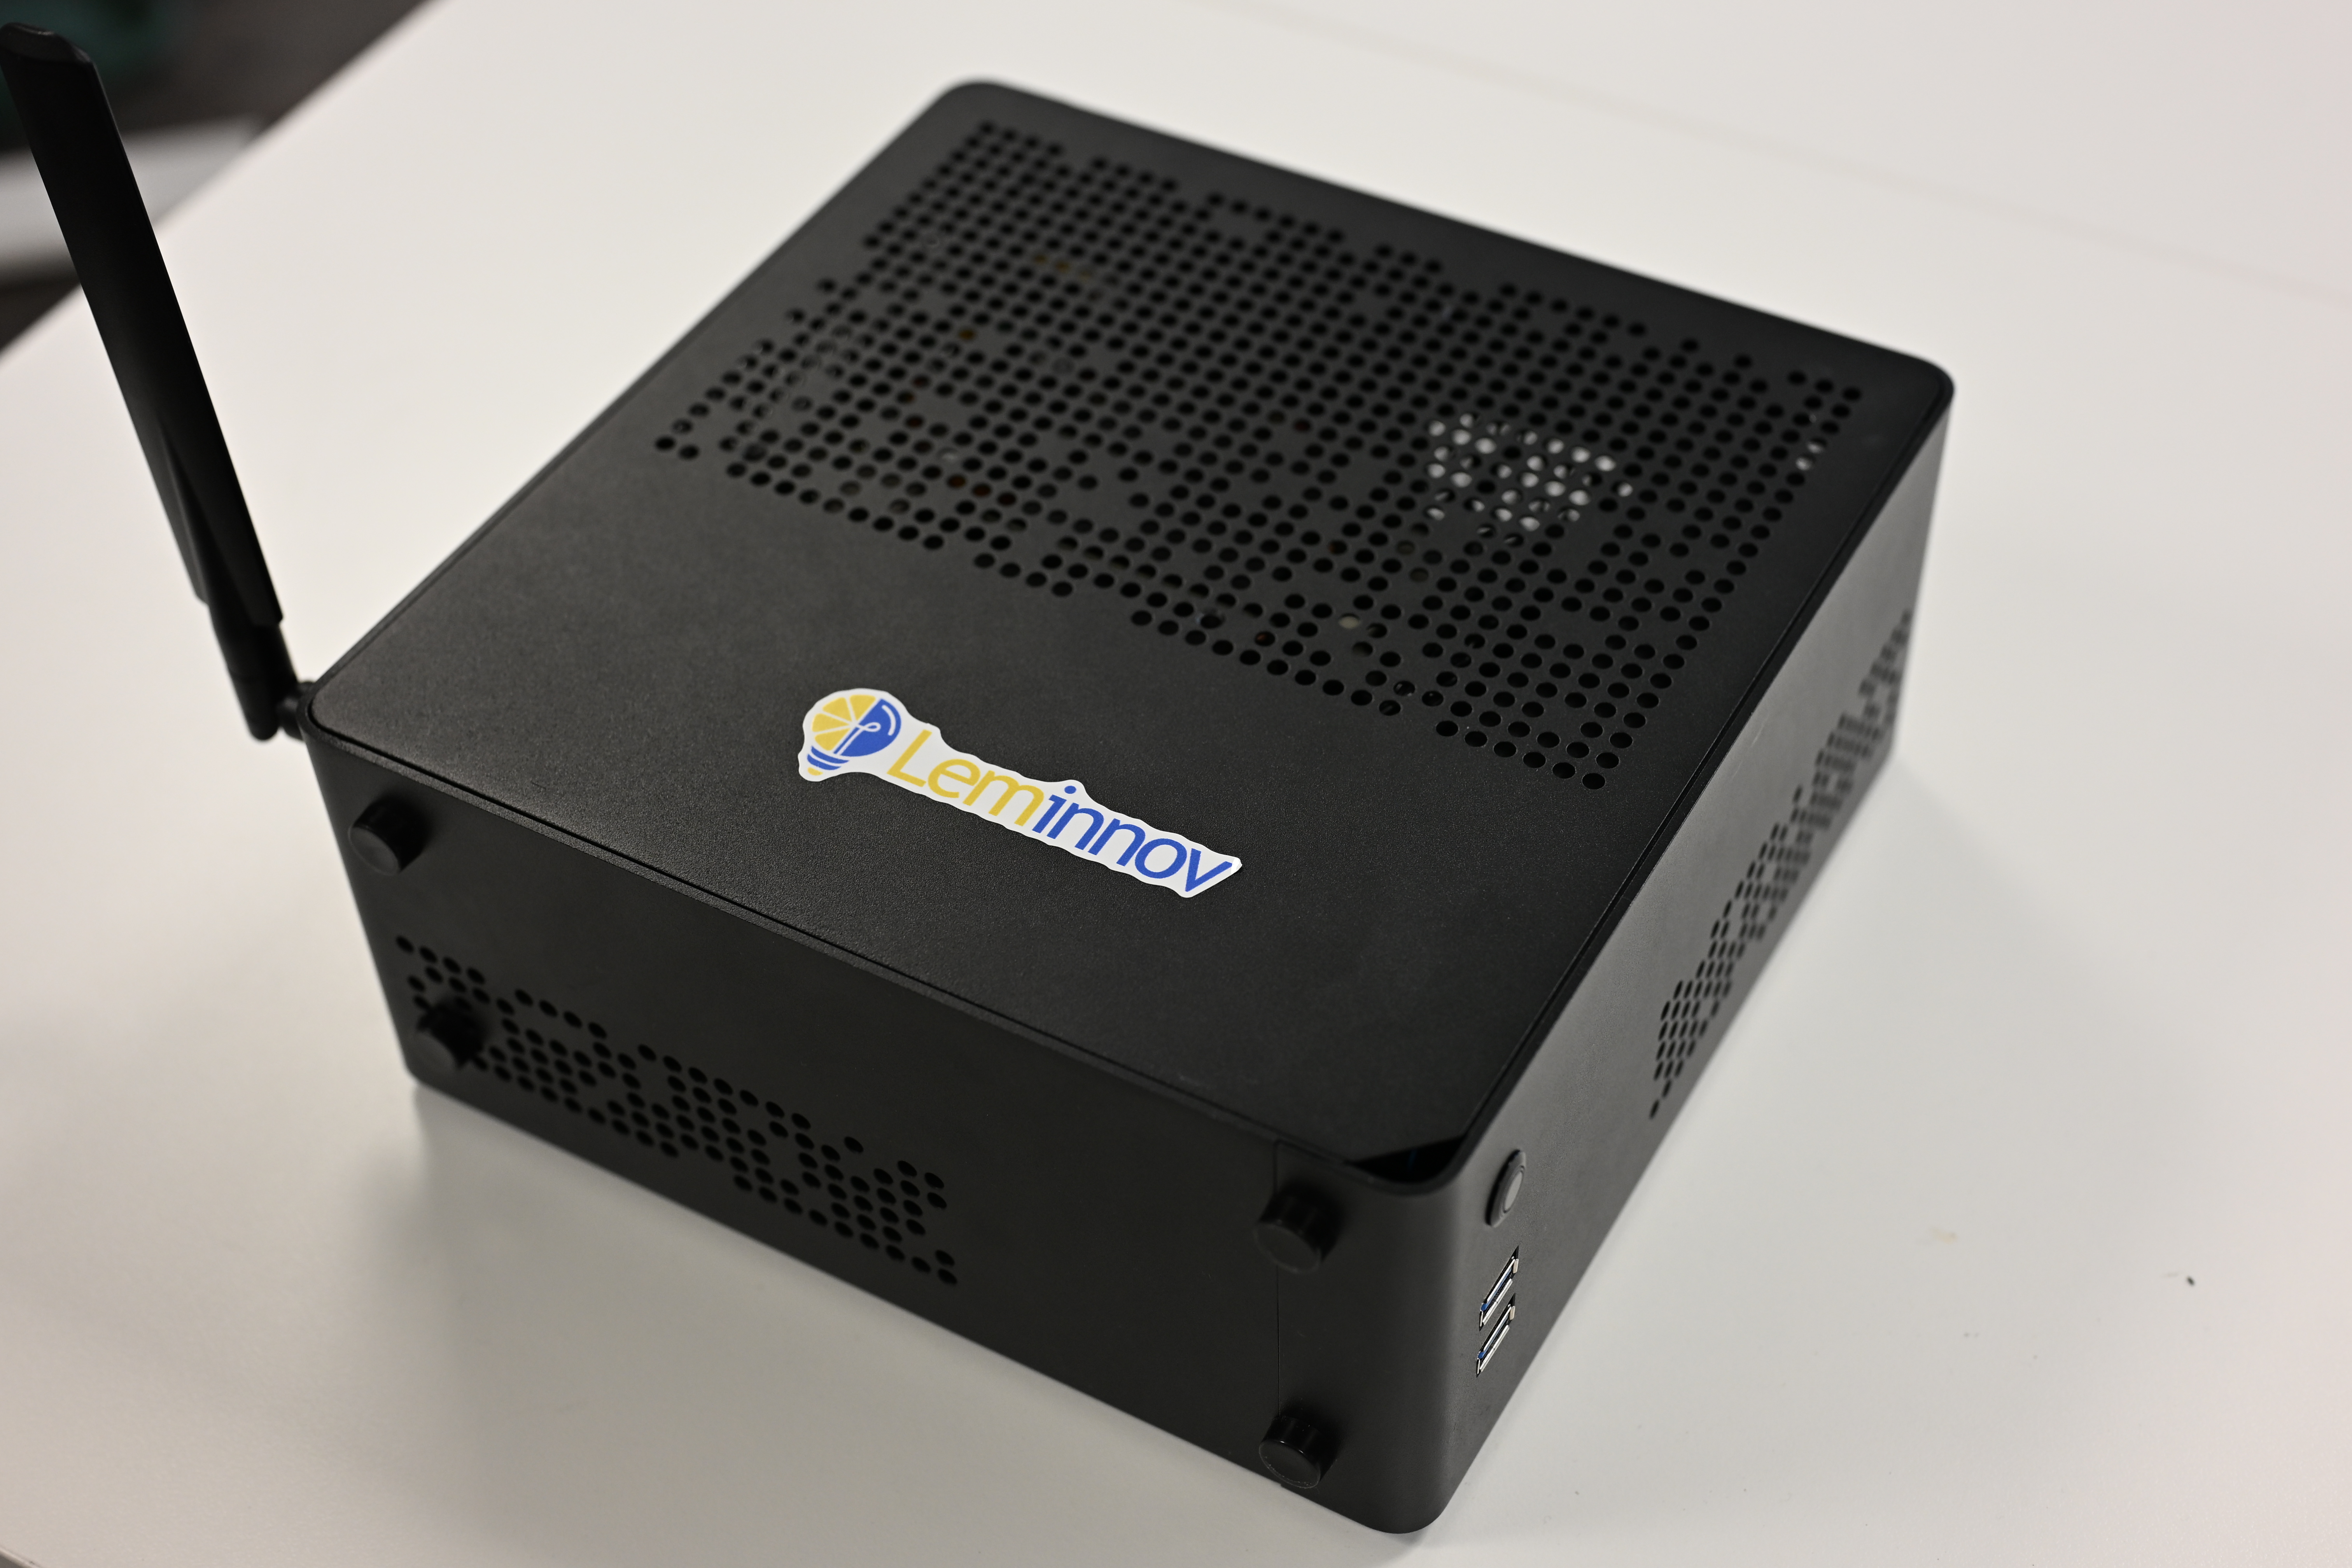
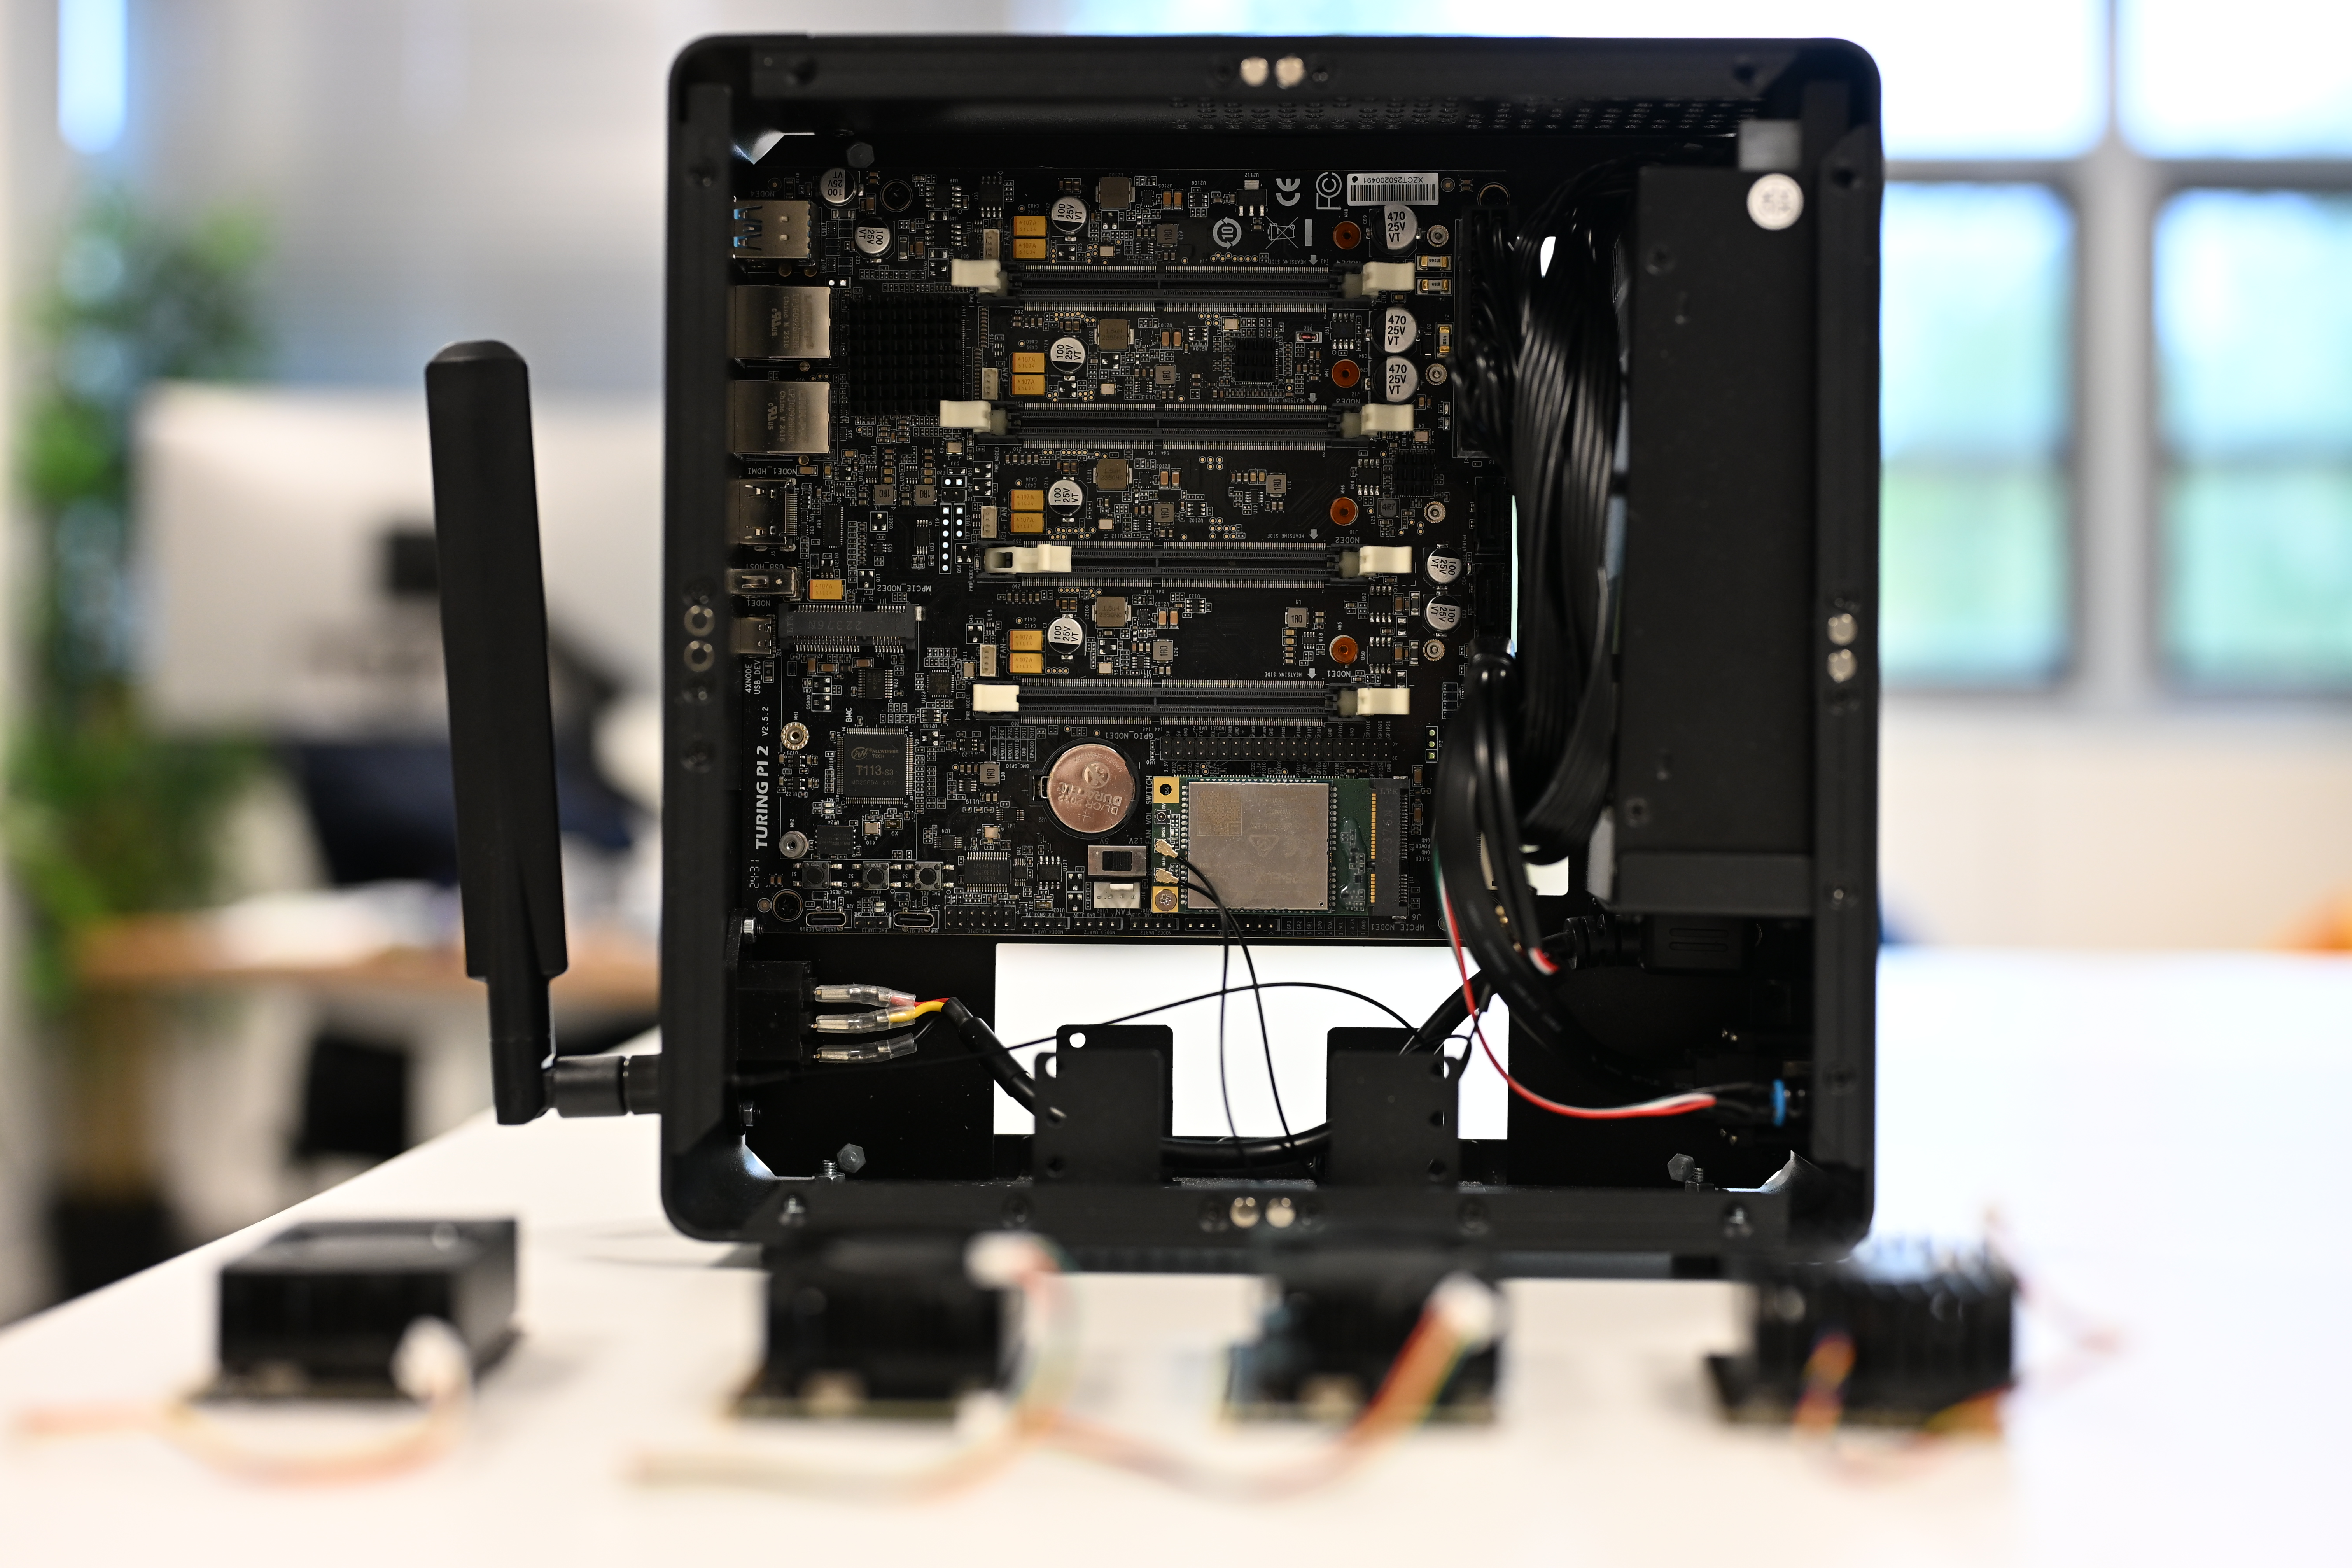
Leminnov adopts the Turing Pi 2, an innovative platform that bridges the gap between powerful cluster computing and efficient deployment. The Turing Pi V2 is a compact mini-ITX board featuring four CM4-compatible slots, allowing the interconnection of multiple compute modules to create a scalable and efficient cluster system such as Nvidia, Raspberry Pi, Turing RK1 and orthers.
Turing Pi 2: Key Features and Capabilities
1. Multi-Node Cluster Support
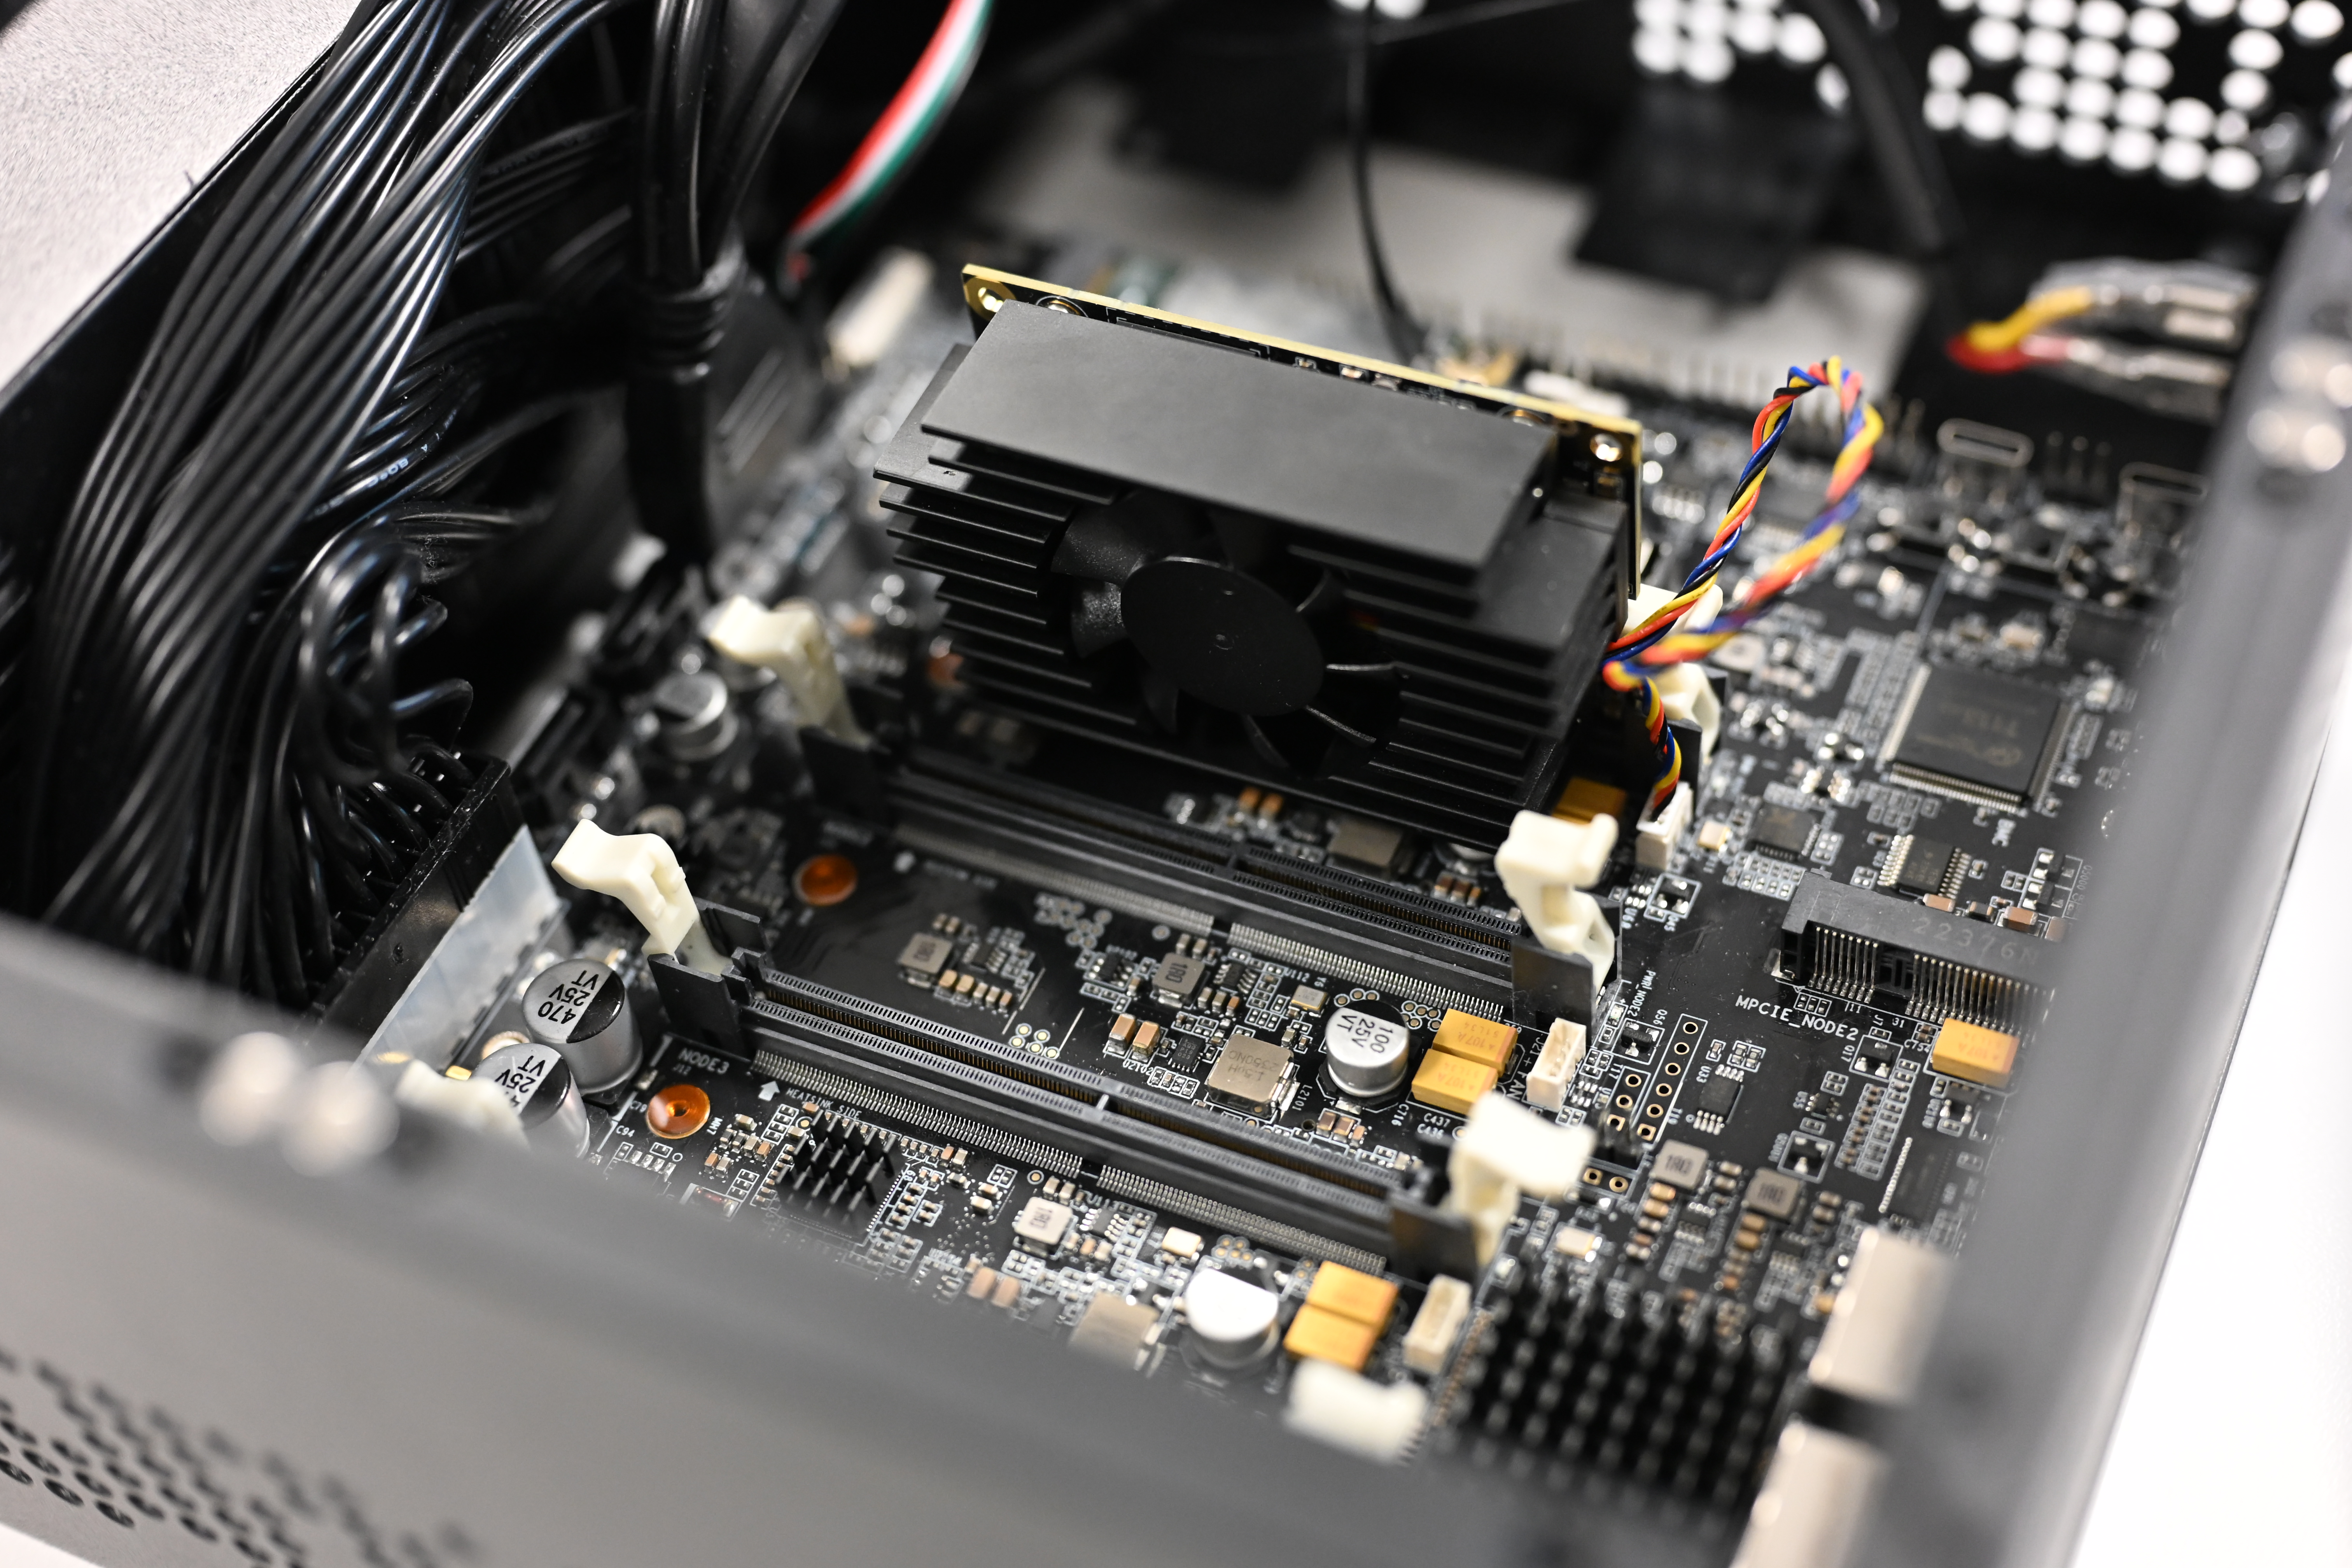
Turing Pi 2 can host up to four compute modules, allowing users to create a compact yet powerful cluster. This makes it an ideal tool for developers, researchers, and hobbyists who need a small-scale but efficient computing solution.
2. Integrated Power and Networking
The board comes with an onboard 1 Gbps Ethernet network and a managed switch, reducing the need for additional networking components. This simplifies the process of connecting multiple nodes and enhances overall performance.
3. Storage and Peripheral Expansion
Turing Pi 2 includes USB and storage expansion options, enabling users to attach extra storage devices or peripherals. This flexibility allows for a wide range of applications, from database management to machine learning workloads.
4. Baseboard Management Controller (BMC)
The built-in BMC facilitates easy management of the compute modules. It provides:
- System health monitoring
- Power control
- OS flashing for compute modules
- Automation support with Terraform and Ansible
A Perfect Foundation for AI Infrastructure at the Edge
The Turing Pi V2 offers an ideal ARM-based platform for building AI-powered edge infrastructure, perfectly suited for:
- Deploying local AI inference workloads
- Supporting smart small business operations with AI capabilities
- Powering intelligent home-based or remote tech environments
It provides a secure, low-latency environment for running AI models, processing data locally, and reducing dependency on distant Cloud services. Additionally, with its Kubernetes-ready architecture, the Turing Pi V2 enables the deployment of Cloud-native AI applications, rapid proof-of-concept development, and scalable edge solutions — all while maintaining control, efficiency, and cost-effectiveness.
Get started
On our case we use :
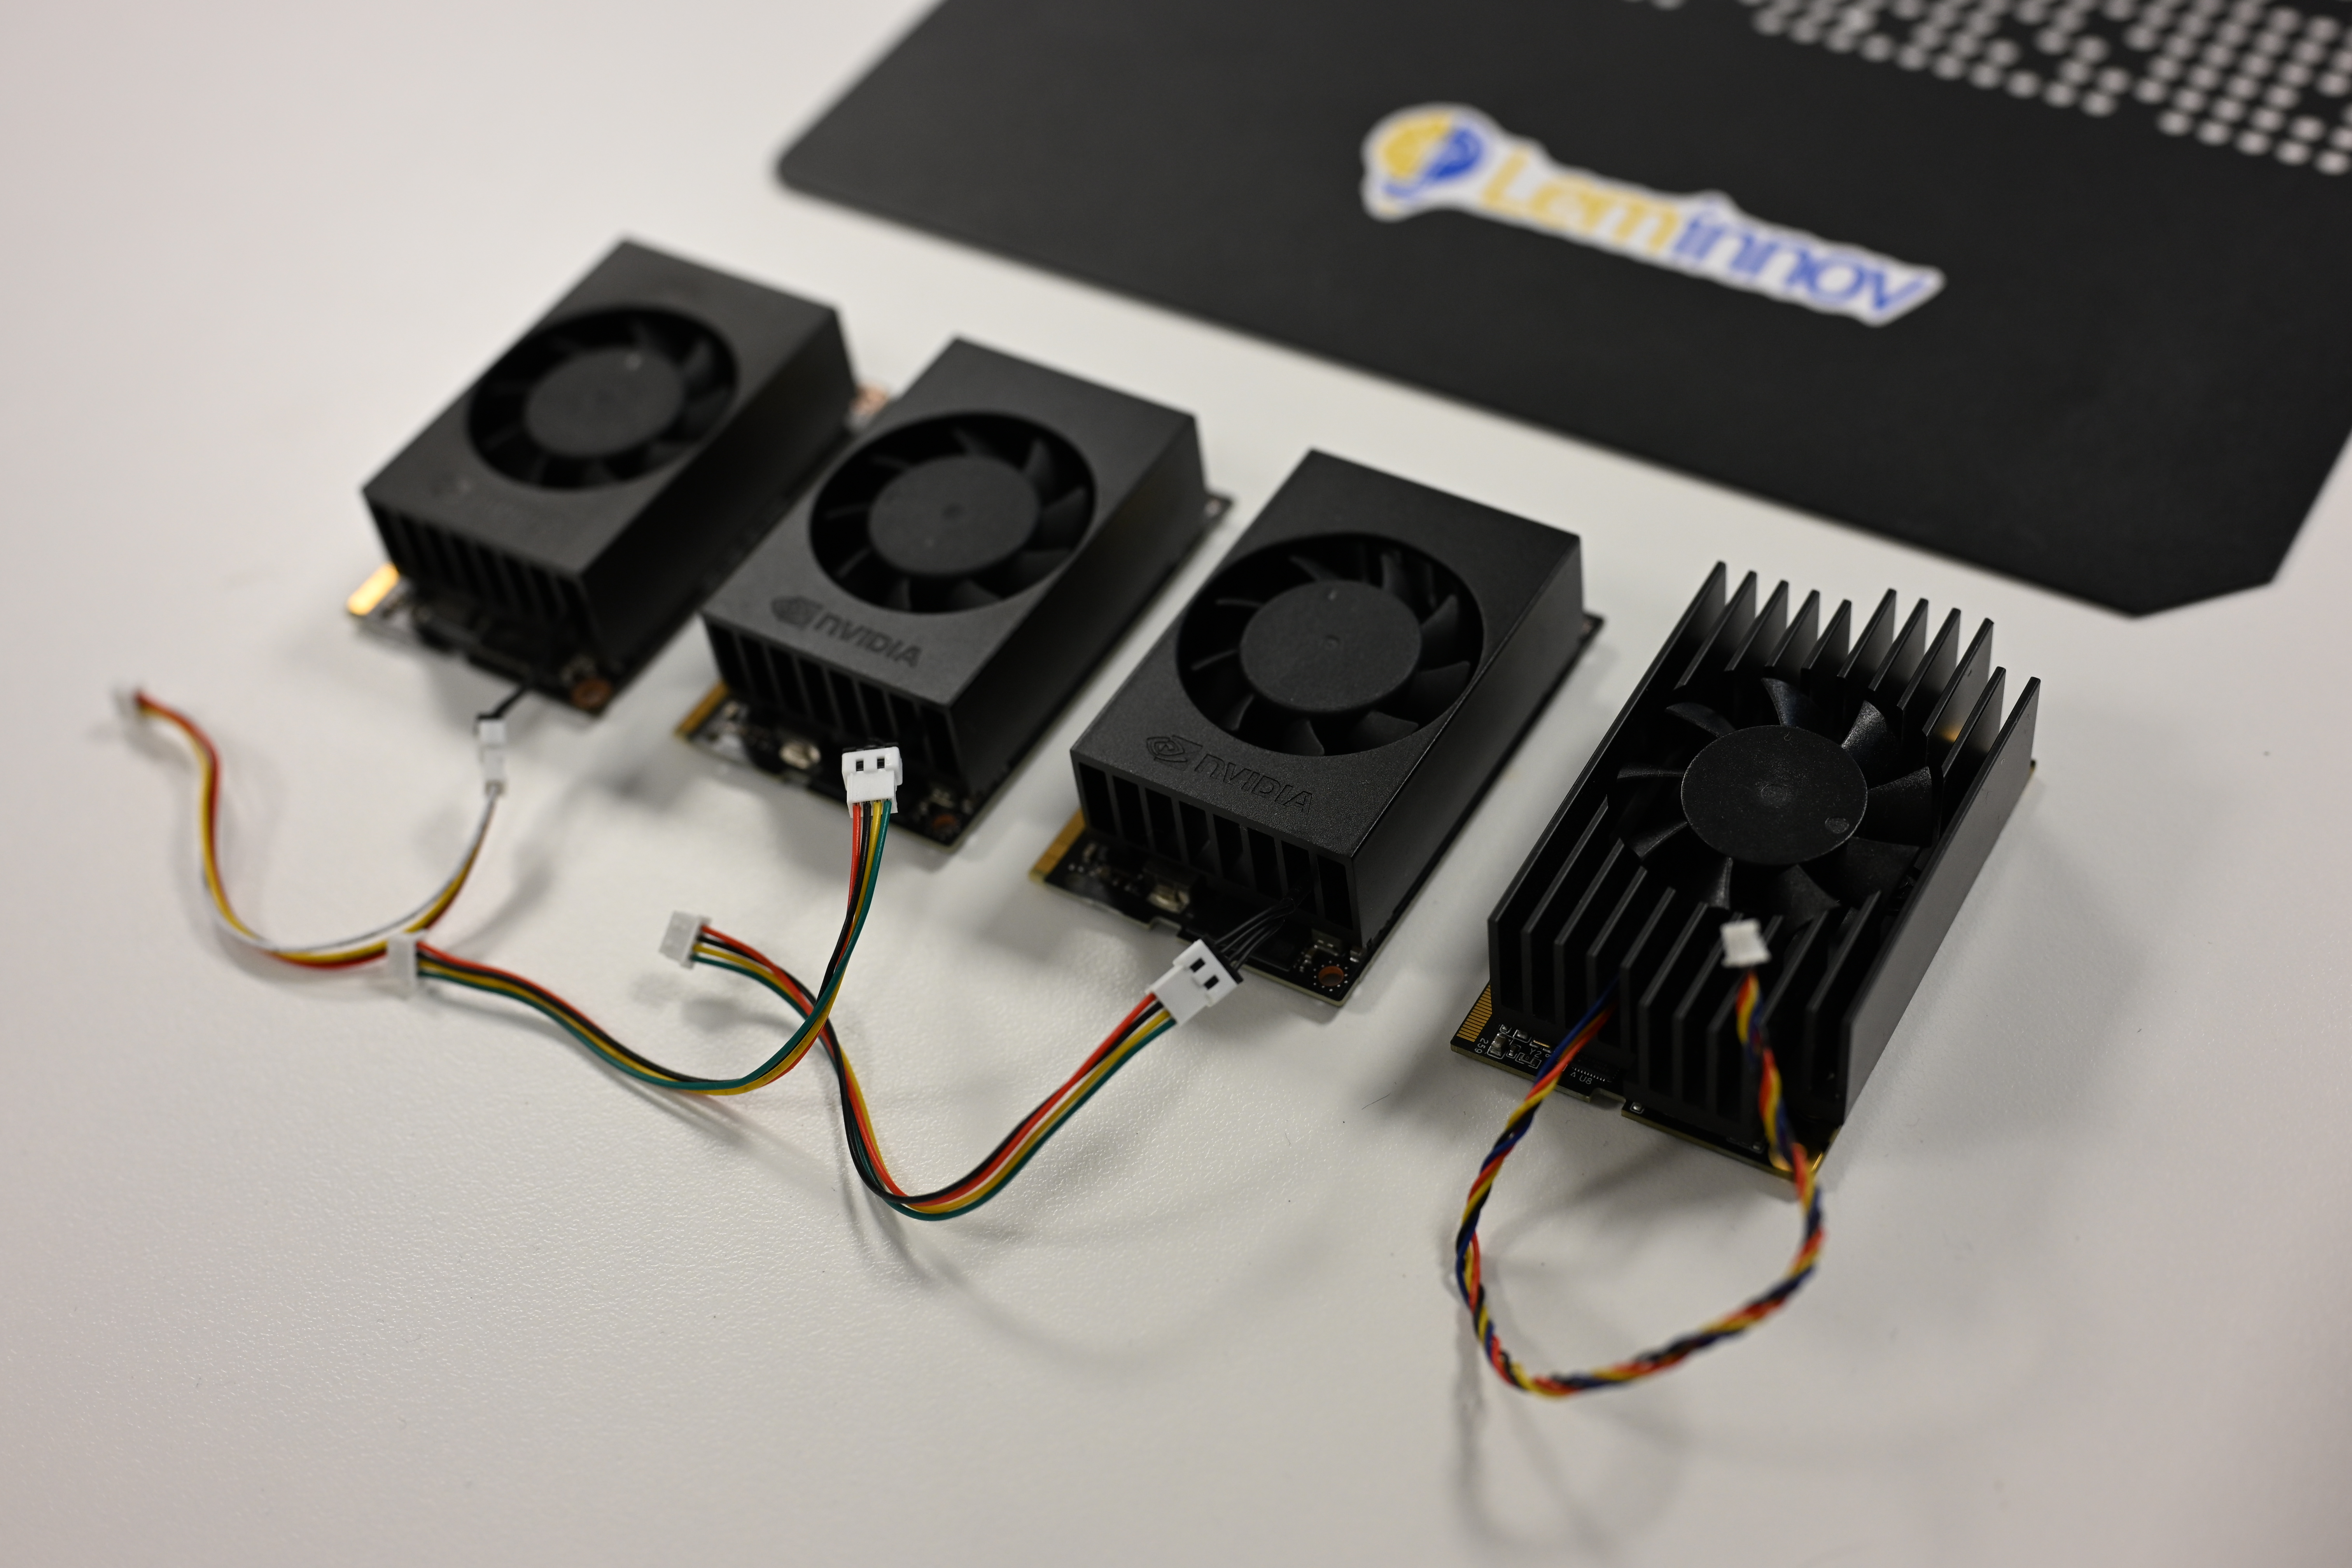
- Node 1: Turing RK1
- Node 2: NVIDIA ORIN NX
- Node 3: NVIDIA ORIN NX
- Node 4: NVIDIA Xavier NX
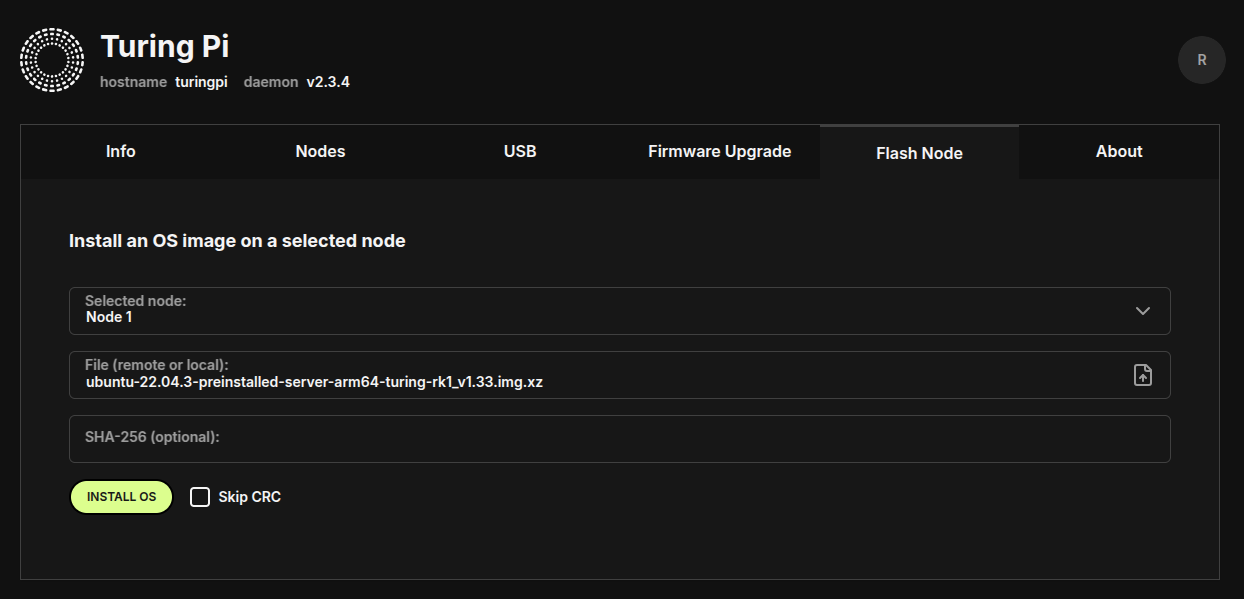
Flash node 1 - Turing RK1 - Ubuntu 22.04
When you connect the Turing Pi to its own power supply, The BMC becomes available, which you can access by navigating to https://turingpi.local/ and here you can flash nodes
1- insatll ubuntu server 22.04 on your host
wget https://github.com/Joshua-Riek/ubuntu-rockchip/releases/download/v2.4.0/ubuntu-22.04-preinstalled-server-arm64-armsom-aim7.img.xz
2- Navigate to Flash Node on the BMC dashbord
3- Select the Node 1 and the File of the ubuntu server image already installed
4- Click INSTALL OS and wait until the process will complited
Flash node 2 & 3 - NVIDIA ORIN NX - Jetpack 6.2
1- Requirements:
- Ubuntu 22.04 Host Machine (Bare Metal)
- Get a USB-A > USB-A 2.0 Cable
2- Prepare Host OS:
Update System:
sudo apt update
sudo apt upgrade -y
sudo apt dist-upgrade -y
sudo apt install -y qemu-user-static nano openssh-server openssh-client
sudo reboot
3- Download Nvidia BSP Drivers & RootFS:
wget -O bsp.tbz2 -L https://developer.nvidia.com/downloads/embedded/l4t/r36_release_v4.3/release/Jetson_Linux_r36.4.3_aarch64.tbz2
wget -O rootfs.tbz2 -L https://developer.nvidia.com/downloads/embedded/l4t/r36_release_v4.3/release/Tegra_Linux_Sample-Root-Filesystem_r36.4.3_aarch64.tbz2
Nvidia Release Page: https://developer.nvidia.com/embedded/jetson-linux-r3643

4- Extract BSP & RootFS:
tar -xvpf bsp.tbz2
sudo tar -xvpf rootfs.tbz2 -C Linux_for_Tegra/rootfs/
Turing Pi 2 (similar to some other custom carrier boards) does not have the onboard EEPROM that the module or the flasher can access. The flasher, however, expects the EEPROM to exist as it does on the official Orin Nano (and Xavier NX) carrier boards. We need to modify one file to set the EEPROM size to 0 :
sed -i 's/cvb_eeprom_read_size = <0x100>/cvb_eeprom_read_size = <0x0>/g' Linux_for_Tegra/bootloader/generic/BCT/tegra234-mb2-bct-misc-p3767-0000.dts
5- Prepare Firmware:
cd Linux_for_Tegra
sudo ./apply_binaries.sh
sudo ./tools/l4t_flash_prerequisites.sh
6- Prepare Username, Password, Hostname:
sudo ./tools/l4t_create_default_user.sh --accept-license -u <username> -p <password> -a -n <hostname>
Example:
sudo ./tools/l4t_create_default_user.sh --accept-license -u nvidia -p nvidia -a -n node2
This step ensures SSH access is properly set up, which is required before initiating the flashing process.
7- Disable NFSv4 on Host:
Important
This must be done AFTER apply_binaries and l4t_flash_prerequisites.sh scripts
sudo nano /etc/default/nfs-kernel-server
Add --no-nfs-version 4 to RPCMOUNTDOPTS
Result:
RPCMOUNTDOPTS="--manage-gids --no-nfs-version 4"
8- Patch nv_enable_remote.sh:
This is a script that must be patched, if not then you will get a Waiting for target to boot-up and the flashing of the module will never succeed.
vim tools/kernel_flash/initrd_flash/nv_enable_remote.sh
Navigate to line 169 and adjust the code as follows.
Please ensure proper indentation !!
...
echo "${cfg_str:1}" > "${cfg}/strings/0x409/configuration"
        echo on > /sys/bus/usb/devices/usb2/power/control
        echo "${udc_dev}" > UDC
...
9- Prepare Turing PI for flashing:
Login to the BMC
ssh root@turingpi.local
root@turingpi.local's password:
Run the following commands:
[root@turingpi ~]$ tpi power off
[root@turingpi ~]$ tpi usb -n {NODE} flash
[root@turingpi ~]$ tpi power -n {NODE} on
Replace {NODE} with the ID where your Nvidia is
10- Check if the device is in recovery mode for flashing:
lsusb
You should now see a device called NVIDIA Corp. APX This means that you succesfully put the device into flash mode.
Now flash the node, this command will assume that you are flashing to a NVMe device, you are free to add BEFORE the jetson-* text the following option --erase-all this option will erase the NVMe before flashing the new version, this is very handy if you had an old version running.
11- Flash Firmware:
sudo ./tools/kernel_flash/l4t_initrd_flash.sh --external-device nvme0n1p1 \
  -c tools/kernel_flash/flash_l4t_external.xml -p "-c bootloader/generic/cfg/flash_t234_qspi.xml" \
  --showlogs --network usb0 --erase-all jetson-orin-nano-devkit internal
Wait and sit back until flashing is done. You will see for a bout 10 to 15 seconds a Waiting for target to boot-up this is normal give the module some time to boot during the flash process.
12- Post Flashing Firmware:
Login into the BMC
ssh root@turingpi.local
root@turingpi.local's password:
Set the module to normal, and boot it up
[root@turingpi ~]$ tpi power -n {NODE} off
[root@turingpi ~]$ tpi usb -n {NODE} device
[root@turingpi ~]$ tpi power -n {NODE} on
Flash node 4 - NVIDIA Xavier NX - Jetpack 5.1
Same as the previous steps, but this time using different JetPack versions that are compatible with the NVIDIA Jetson Xavier NX.

Install k3s Cluster
For the following commands,
On Node 1:
curl -sfL https://get.k3s.io | sh -s - --write-kubeconfig-mode 644 --disable servicelb --token <TOKEN> --node-ip <NODE1> --disable-cloud-controller --disable local-storage
Then on Nodes 2-4:
-sfL https://get.k3s.io | K3S_URL=https://<NODE1>:6443 K3S_TOKEN=<TOKEN> sh -
Steps to Set Up a Cloudflare Tunnel in Kubernetes
- Log in to Cloudflare: Start by logging in to your Cloudflare account:
cloudflare login
Follow the prompts to choose the zone (domain) you want to use for the tunnel.
- Create a New Tunnel: After logging in, create a new tunnel and note the unique tunnel ID:
cloudflared tunnel create <tunnel-name>
The output will include the unique tunnel ID, which you’ll need for further configurations.
- Create Kubernetes Secret for Tunnel Credentials: Upload the tunnel credentials to your Kubernetes cluster as a secret. Replace <your_tunnel_id> with the tunnel ID you obtained in the previous step:
kubectl create secret generic tunnel-credentials \
  --from-file=credentials.json=/path/to/.cloudflared/<your_tunnel_id>.json \
  -n <your_k8s_namespace>
- Create a DNS Record for the Tunnel: Set up a DNS record to route traffic to your tunnel. Replace <your_tunnel_name> and <your_domain> accordingly:
cloudflared tunnel route dns <your_tunnel_name> <subdomain>.<your_domain>
- Add Helm Repository for Cloudflare Tunnel: Add the repository that contains the Cloudflare Tunnel Helm chart:
helm repo add rlex https://rlex.github.io/helm-charts
- Configure Cloudflared Inside Kubernetes: The default Cloudflare Tunnel configuration won’t work directly, as it requires your specific tunnel ID and service details. To modify the configuration, update the values-cloudflare-tunnel.yaml file. Example configuration:
cloudflared:
  tunnel: <tunnel-id>  # Replace with your actual tunnel ID
  ingress:
    - hostname: <subdomain>.<your_domain>  # Replace with your hostname
      originRequest:
        noTLSVerify: true
      service: http://<service-ip>:<service-port>  # Replace with your service details
    - service: http_status:404
serviceMonitor:
  enabled: true
- Install Cloudflare Tunnel with Helm: Now that the configuration is in place, install the Cloudflare Tunnel using Helm with the custom values file:
helm install my-cloudflare-tunnel rlex/cloudflare-tunnel -f /path/to/values-cloudflare
Conclusion
By using Turing Pi 2 and K3s, you have set up a cost-effective, scalable, and low-latency edge computing infrastructure. With the help of Cloudflare Tunnel, you’ve exposed your local applications to the public internet securely, without needing to expose your network directly.
This setup provides a powerful solution for edge computing, running AI workloads, or testing cloud-native applications on-premises before scaling them to the Cloud.
